
|
|
#1 |
|
Участник
|
atinkerersnotebook: Creating PowerApps Using The Common Data Model
Источник: http://atinkerersnotebook.com/2016/0...on-data-model/
============== The Common Data Model is a feature within PowerApps that allows us to store data within a separate database that we can populate with data from other data sources and then within PowerApps. This allows us to create apps that don’t need to be connected to the lower level databases. In this walkthrough we will show how we can take advantage of this and create a simple mobile maintenance form. Configuring the Common Data Model Data Before we start creating our PowerApps we will need to make sure that our Common Data Model is configured and has some data within it that we can use within our applications. Getting ready… To do this we will just need to open up the PowerApps website and click on the Entities link within the Manage menu group on the left hand side for the page. This will allow us to see all of the entities that are delivered with the Common Data Model. 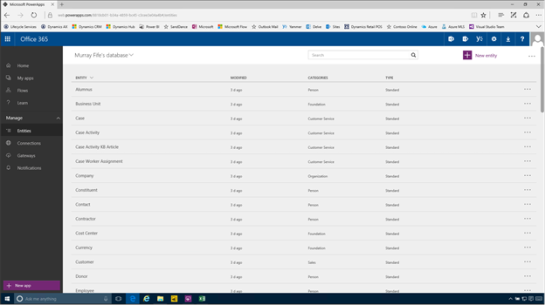 If we drill into any of them we will be able to see all of the fields and objects that are included in the Entity. To view all of the data just click on the Open In Excel icon in the top right of the page.  This will open up Excel and also the PowerApps add-in for Excel and you will be able to see all of the data. In this example we loaded in a few more records than the ones that are delivered in the demo database so that we would have a little more information to play with. 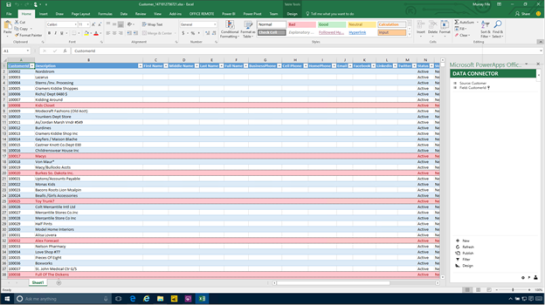 Creating a Power App Once we have got our data loaded into the Common Data Framework we can move to the next step and create a new PowerApp that accesses the data. To do this all we need to do is open up Power Apps and click on the menu bar icon in the top left of the form. This will open up the menu for us and we can click on the New menu item. Now we will see that there are a number of options available for us including an option to create an application from the Common Data Model. To start the process off we just need to click on the tile. 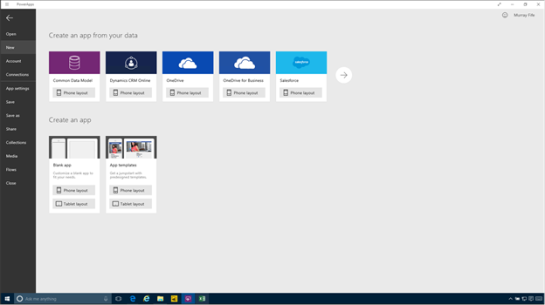 Next we will be given a list of all of the Connections that we can use for the PowerApp, and when we select the Common Data Model we will be able to see all of the entities that are available for us to connect to. 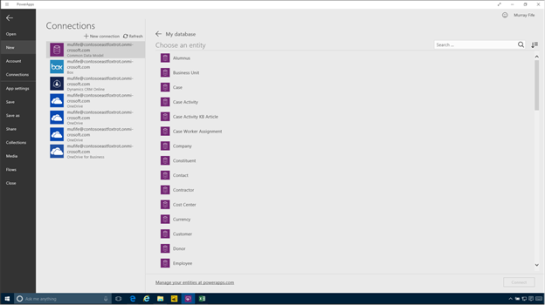 In this example we will select the Customers entity and then click on the Connect button. 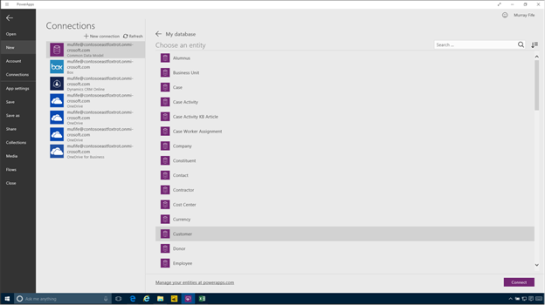 This will start off the wizard that will build our initial PowerApp for us. 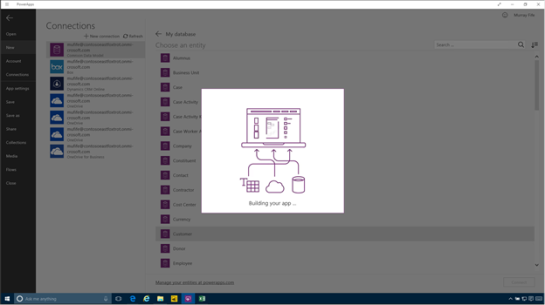 Within a couple of seconds it will return back with one of the default templates built for us which is already connected to our Common Data Model Entity. 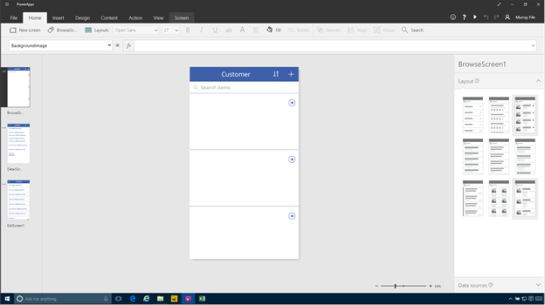 Updating the Fields When PowerApps creates the initial application, it is just guessing about the fields that you want to show on the form, so we may want to change some of the fields that are selected by default and choose ones that are a little more useful to us. To do this all we need to do is select the field on the form template and it will show you all of the fields that are linked with the form. 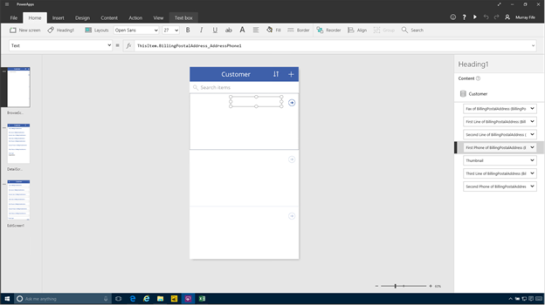 To change the field that you want to display, just click on the field and select the new one from the dropdown list. 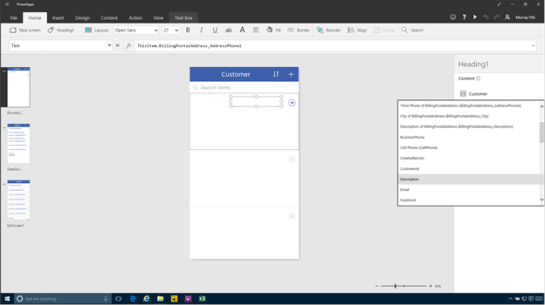 Here we changed the first field to show the Description of the customer. 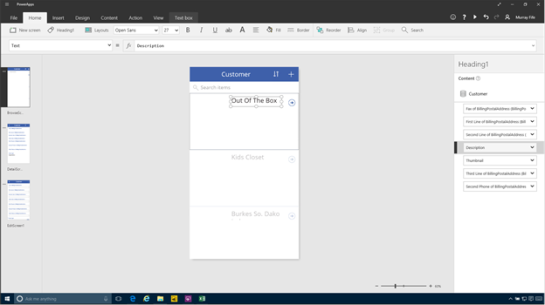 We can repeat the process and then change some of the other fields in the initial search panel to make the form more searchable. 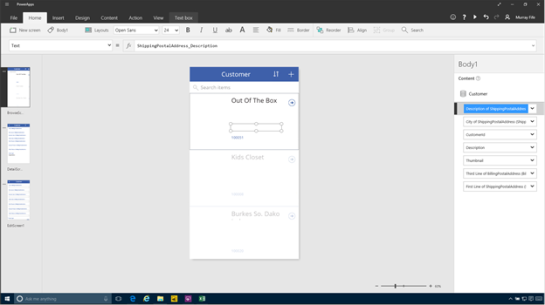 Taking the PowerApp for a Test Drive Once the PowerApp has been created we can test it out at any time and see how it works in the real world. To test out the form, just click on the Play button in the header of the page. 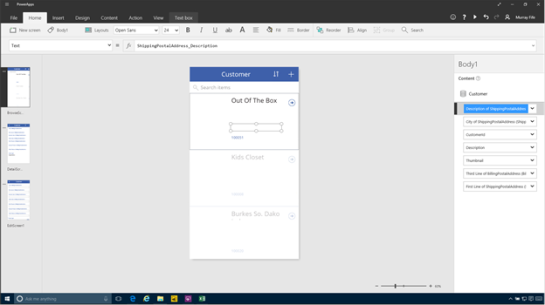 This will open up the form in Preview mode and we will be able to see all of the records as if they were being displayed on a device – a Phone in this example. 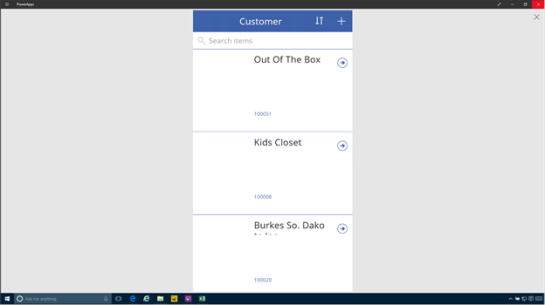 If we want we can even test out the searching functions to filter out the data. 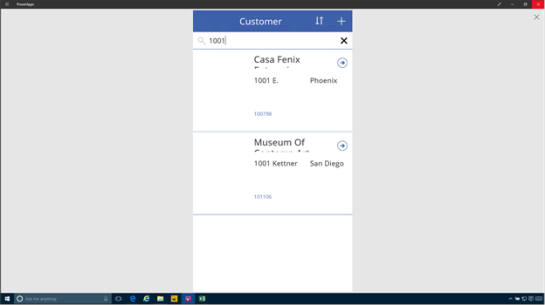 Updating the Detail forms Now that we have updated the main search form we may want to tweak some of the other forms as well. There are two other forms that have been added to this project, a detail form which is used to view the record, and then an edit form that is used to update and create new records within the Common Data Model. First we will update the Data page. To do this select the second PowerApp form. Here we will see that some of the fields have been added to the page, and if we select any of the fields then the fields that are included in the Data Card will show up on the right of the page. 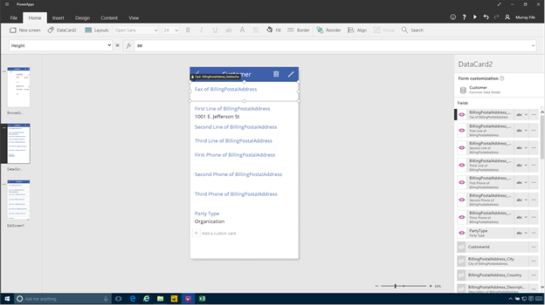 Some will have an eye beside them to indicate that they are visible on the form. All of the other fields will be hidden. In this case we don’t need any of those default fields to click on the visibility icon to toggle them off the form. 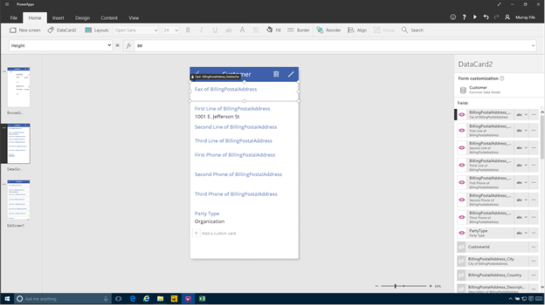 After doing that the form will be blank. 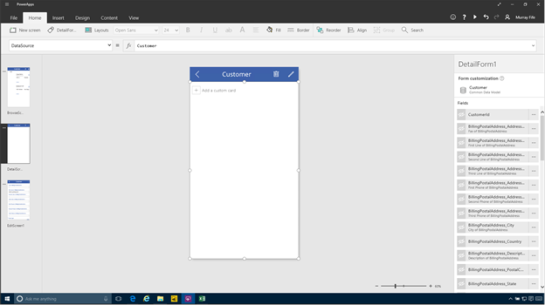 Now we will be able to find the fields that we really want and then toggle the visibility icon to add them back to the form. Here we start off with the Customer ID. 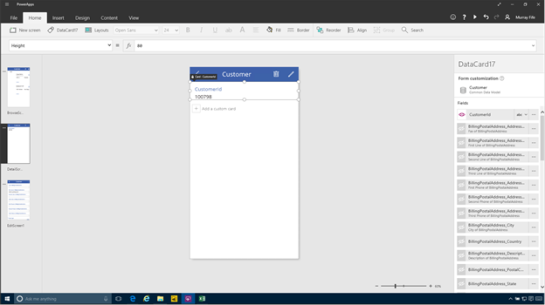 Then we can repeat the process and add in some more fields to the form.  If we select the Edit card then we will see that there are a number of default fields that have been added as well. 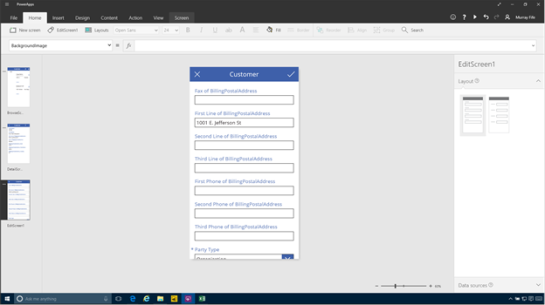 If we select any of the fields then we will be able to see the same field editor as the previous form.  We can toggle the visibility on all of the fields that we don’t want to see.  And then add in all of the fields that we do want to see and maintain on the form. 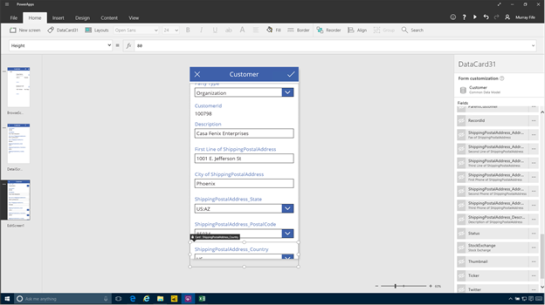 Updating Records within a PowerApp Now that we have updated the Data and Edit cards we can try using the app again, but this time we can try updating some of the data within the Common Data Model. Start off by previewing the app, then find a record that you want to maintain and then select it. 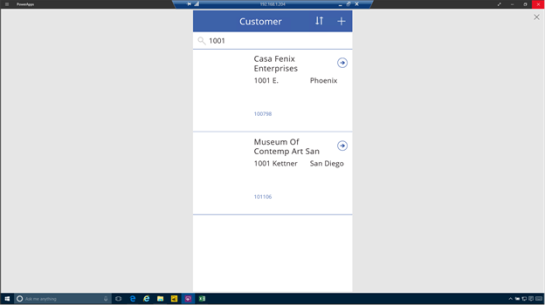 This will take us into the Detail card with all of the data from the record. To maintain the record all we need to do is click on the Pencil icon in the top right of the form. 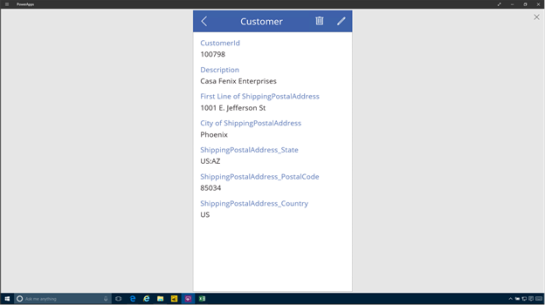 This will take us to the Edit card with all of the fields that we allow the user to maintain.  All of the fields that have lookups can be searched as well. After we have updated the record, just click on the Check mark in the top right to save the record. 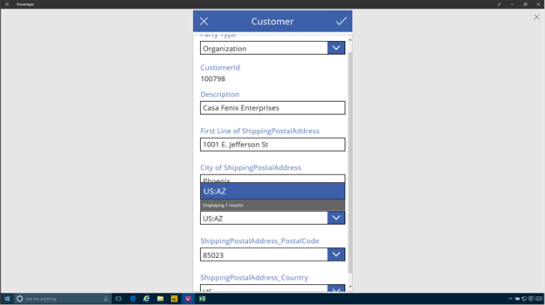 Adding new records within PowerApps Now that we have updated records we can test out another feature which is the adding of new records. This will create new data within the Common Data Model for us as well. To do this we just return to the main card for the PowerApp that we created and then click on the + button in the top right hand corner. 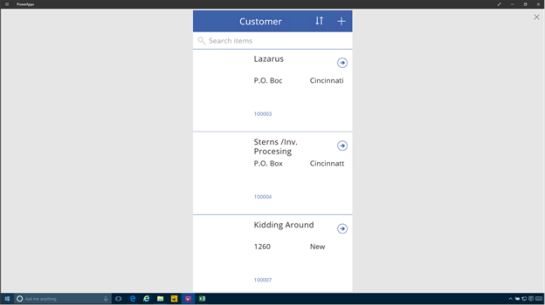 This will take us to the Edit card for the PowerApp.  Now we can start updating the new record. 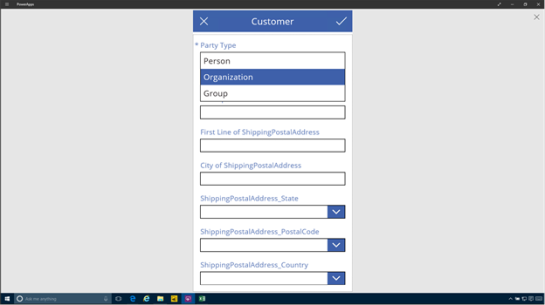 After we have added all of the data for the record we just click on the check mark in the top right hand corner of the app to save the record. 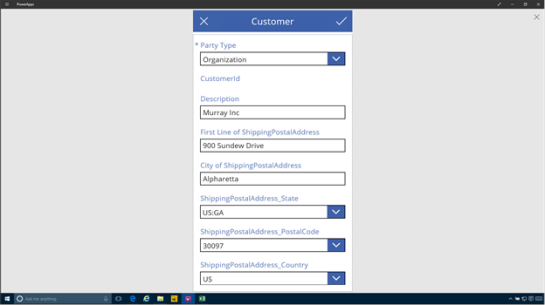 If we return to the Excel worksheet that has all of the data from the Common Data Model we can refresh the data and then scroll to the bottom of the form. We will see that there is a new record that matches the record we just added. 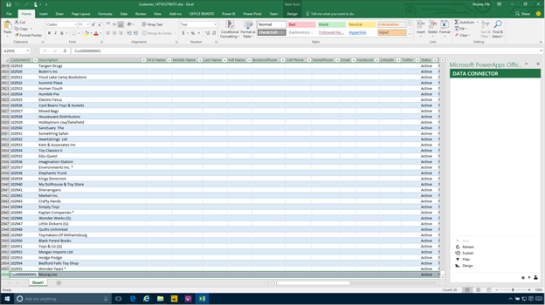 Also as we browse through the field we will see that all of the fields that we updated within the PowerApp form have been added to the record – i.e. the shipping address in this case. 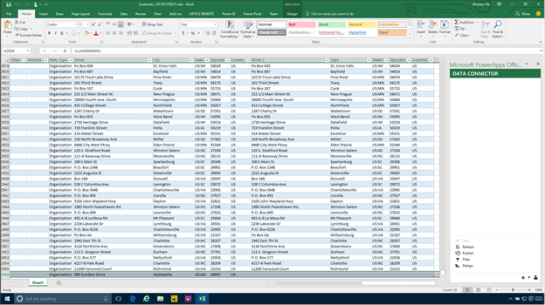 Sharing the Power App Once we have created a PowerApp we chan share it with others within our organization. To do this, just click on the menu bar and we will be able to see a Share option. Just click on it. 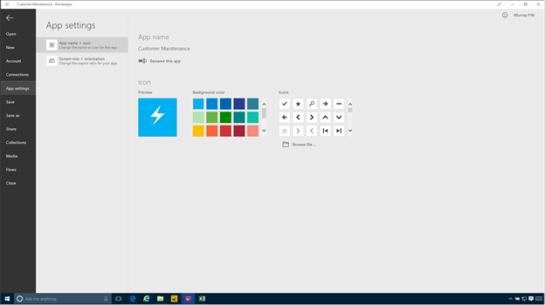 This will open up a Share panel for us. 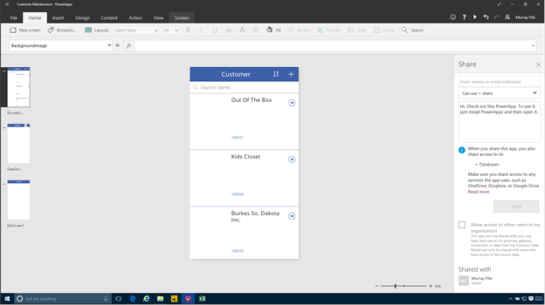 All we need to do here is type in the alias of the person within the organization that we want to share the PowerApp with and select their name from the dropdown list.  After we have selected all of the people that we want to share the app with, just click on the Share button. 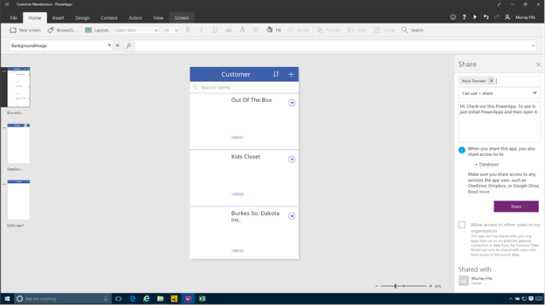 Now it’s shared.  Using a Shared PowerApp Once the PowerApp is shared the users will be notified that they have access to it and will then be able to consume the app in a number of different ways. When we invite someone to the app they will receive an e-mail notification that they can start using it. They are able to access the app either through the PowerApp mobile app, or through a web browser. To see the app within the Mobile App, just click on the Open inPowerApps mobile link in the e-mail.  This will open up the PowerApps mobile application and confirm that you want to access the shared Common Data Model. 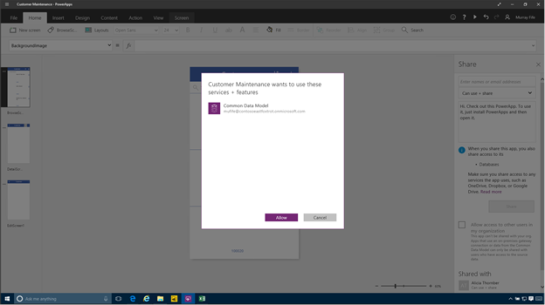 Then they will be able to browse all of the data and even update and add data through the app. 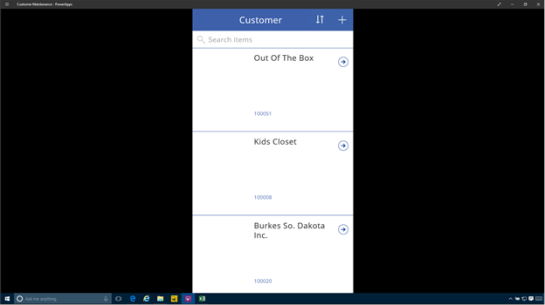 If they select the Web version then they will be taken to the PowerApps website and then confirm that they accept the Terms and Conditions. 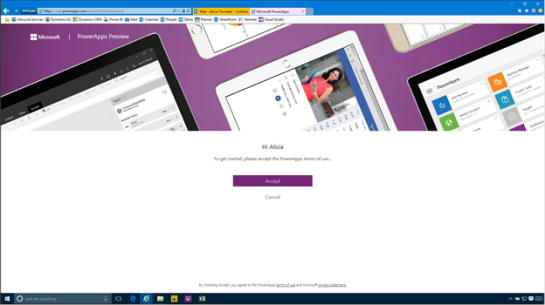 Then they will be asked to confirm that they want to access the Common Data Model again. 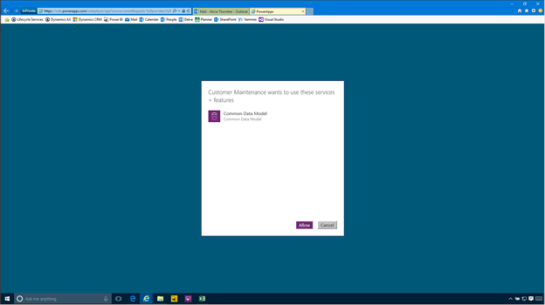 And then they will be able to access all of the data through the web interface as well.  Drilling into all of the detail the users are also able to see all of the same information as in the mobile app. 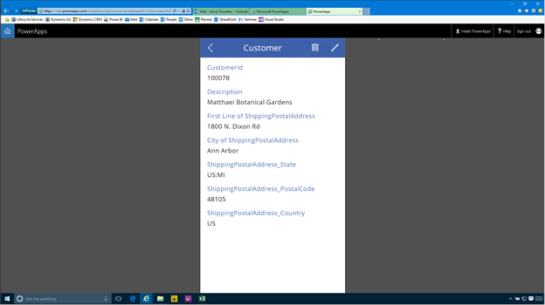 Conclusion How cool is that! Источник: http://atinkerersnotebook.com/2016/0...on-data-model/
__________________
Расскажите о новых и интересных блогах по Microsoft Dynamics, напишите личное сообщение администратору. |
|
|
| Теги |
| ax7, powerapp |
|
|
|